Assalamualaikum and a very good day to all...
This week I've been assigned to explore multimedia usage in education. Several software have been introduced and recommended in order to complete this week assignment:
For 2D Graphic Editing Software:
- Microsoft Paint / Paint Brush
- Shapes/smart Art PowerPoint
- GIMP (OSS)
- Online -Google draw (collaborative drawing)
- OpenOffice Draw (OSS)
For Desktop Publishing Software
- Microsoft Publisher
For Word Processor Software
- Microsoft Word
- OpenOffice Writer
- Online Word Processor (Google doc )
Vector vs Bitmap

Figure 1.1 Vector vs Bitmap
This week I've learnt that there are two types of image files, Vector and Bitmap image files. Vector-based image files ( contains of extensions such as .eps , .cdr , .ai or .dwg ) and Bitmap-based image files ( contains of extensions such as .jpg , .gif , .tif or .bmp). Several differences between both of the image files can be identified, one of those can be seen from the pictures above. We should know the differences between these two types of image files, how they are analyzed by computers and the strengths and weaknesses of both images files.
- Contain well-defined elements such as curves and shapes of various colours.
- Pure graphics, western alphabets or Asian characters are the example of these elements.
- Computer defines each element mathematically. For example, if a vector-based image contains a pink dot, then information such as the location of the circle's center point, the length of it's radius, and the colour itself, pink, would be essential information for this image file.
- Moreover, Vector image file is more suitable for illustrations that require precise measurement.
- Due to their mathematical nature, they are easily scaled.
- The disadvantage of this file is it is not good for displaying photo-realistic images such as photograph because images of this type generally do not contain well-defined shapes and curves.
- Differ to graphic such as logos of company, Asian characters like Japanese Kanji they are well defined and are most suitable in this image file.
Bitmap Image
- Doesn't rely on mathematical formulas to define each of their various element.
- Bitmap images are generally mapped into a grid from bunch of pixels based on the size of the image like a mosaic of pixels. Besides that, each pixel holding a specific colour value in each image.
- Bitmap image are easily to get, we can snap using camera, scan from a photograph or drawing.
- However, this kind of image files are not easily scaled, we make a bitmap image smaller without losing quality of the image. But, the image would lose its sharpness and the edges when we enlarge it.
- On top of that, bitmap image require more place to store in computer memory. Due to the fact that, the file contains each information of each pixel of the image.
This is what I produced after exploring all the software recommended...

Figure 1.2
Using Microsoft Paint - Paint Brush

Figure 1.3
Using Power Point - Smart Art (group all the shapes and save as picture)

Figure 1.4
I change the colour of her eyes using the tools (a hand drawn region, polygonal segments + colorize) and colour her lips and eyelids with brush(circle fuzzy) + mode:Overlay.

Figure 1.5
I edit the picture from Paint which I made earlier, at GIMP. For tree and clouds, I use brush (circle fuzzy) + Mode: Dissolve and for the wall of the house I use brush (sand dunes).

Figure 1.6
I use the same brush (circle fuzzy) + choose Mode: Saturation and change the opacity to make the colour of the teeth looks real (Whiten Teeth using GIMP)
Using GIMP (OSS)

Figure 1.7

Figure 1.8
Online - Google Draw (Collaborative Drawing) using shapes and text.
Next,
STEPS TO CREATE BROCHURE
First of all, select Microsoft Office Publisher from the Start button. Refer to Figure 2.1.
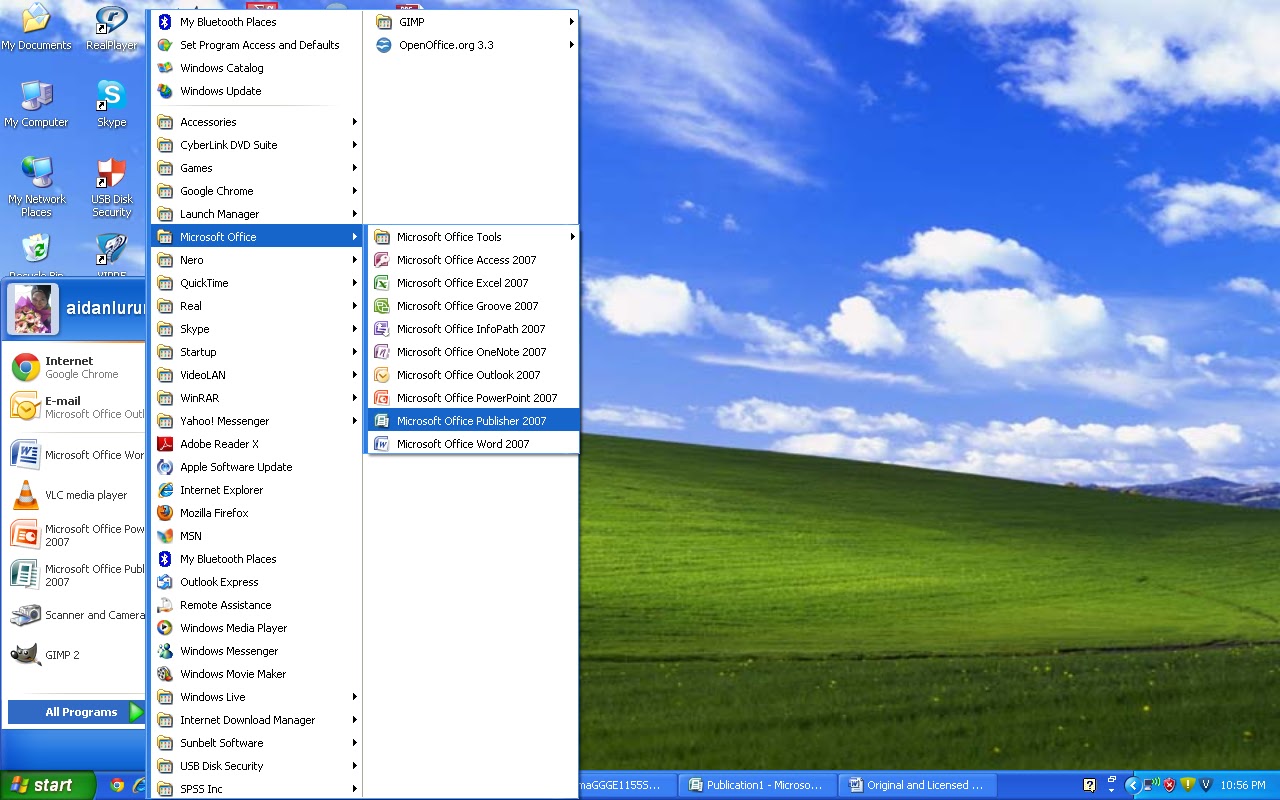
Figure 2.1
Then, kindly selected 'Brochure' from the Microsoft Office Publisher. There are several other popular publication types which can be produced from this software, such as, business cards, calendars, flyers, email, greeting/invitation cards, newsletters, resume and etc. I've started using Microsoft Publisher since primary school, I made Happy Teachers' Day card, Happy Birthday Card and even trying to make my own Business Cards. Hence, it's a lot of fun to explore. Refer to Figure 2.2.

Figure 2.2
After that, choose any template that suit the information of the topic or any template that will make readers interested and impressed to look at it. Refer to Figure 2.3.

Figure 2.3
Besides that, the preview of the brochure can be seen at the right side while choosing the template. Customization can also be made like changing colour scheme, font scheme and business information. Hence, there are several options on page size which you can choose whether you want 3 or 4 sections for your brochure and form which can be choose based on the suitability and own interest. After that, click 'Create' button. Refer to Figure 2.4.

Figure 2.4
Puff! Then, your first draft of brochure is ready to be filled with any information you want to put in.
If you still do not satisfied with the color scheme, you can always change it while doing the process of filling up the information. Refer to Figure 2.5.

Figure 2.5

Figure 2.6
On the second page, we can started to write up all information that we want to include in the brochure. Refer to Figure 2.7.

Figure 2.7
After completing all information in your brochure, make several editing, check any punctuation mark or spelling error to make readers satisfied reading your brochure. Lastly, print your brochure!
Finally,
STEPS TO CREATE BOOKLET USING MICROSOFT WORD
Before I proceed to the steps on how to create booklet, let me tell you what are booklets...
Booklets
- Small books , usually having an interesting and eye-catching paper cover.
- Information documents
- The term 'booklet' usually implies more than one page.
- Usually, they are printed on high quality stock, impressive designs and eye-catching fonts.
- Promotion tools used by companies to market their products and services.
- Creating an effective, impressive and informative booklet is the key for a successful booklet.
- Different types of booklets are pamphlets, leaflets, catalogs and annual reports.

Figure 3.1 Several types of Booklet
Now,
Step 1 : Go to Microsoft Word and start with a new document.
Step 2 : On the Page Layout tab, click the Page Setup dialog box launcher, change the setting as follows. (Refer to Figure 3.2)
- Margins - Decrease the top, bottom, inside, and outside margins to at least 0.5 inches to give more space to use on a page.
- Add gutter margin of 0.25 inches (the space between the two facing pages; where the fold is).
- Orientation - Select Landscape.
- Multiple pages - Select Book Fold to set up your document to print in landscape page orientation with two booklet pages on each side of a sheet of paper.
- Sheets per booklet - select All or Auto (there are four booklet pages per sheet of paper).
- Click OK.

Figure 3.2 Page Setup
Step 3 : *Optional - You can choose any theme you desired to make your booklet look impressive and interesting. Decorate it with images, insert border or anything using your creativity. Refer to Figure 3.3.

Figure 3.3
That's all for this week.
I hope you can create your own brochure and booklet too.
No comments:
Post a Comment